
We may earn money or products from the companies mentioned in this post.
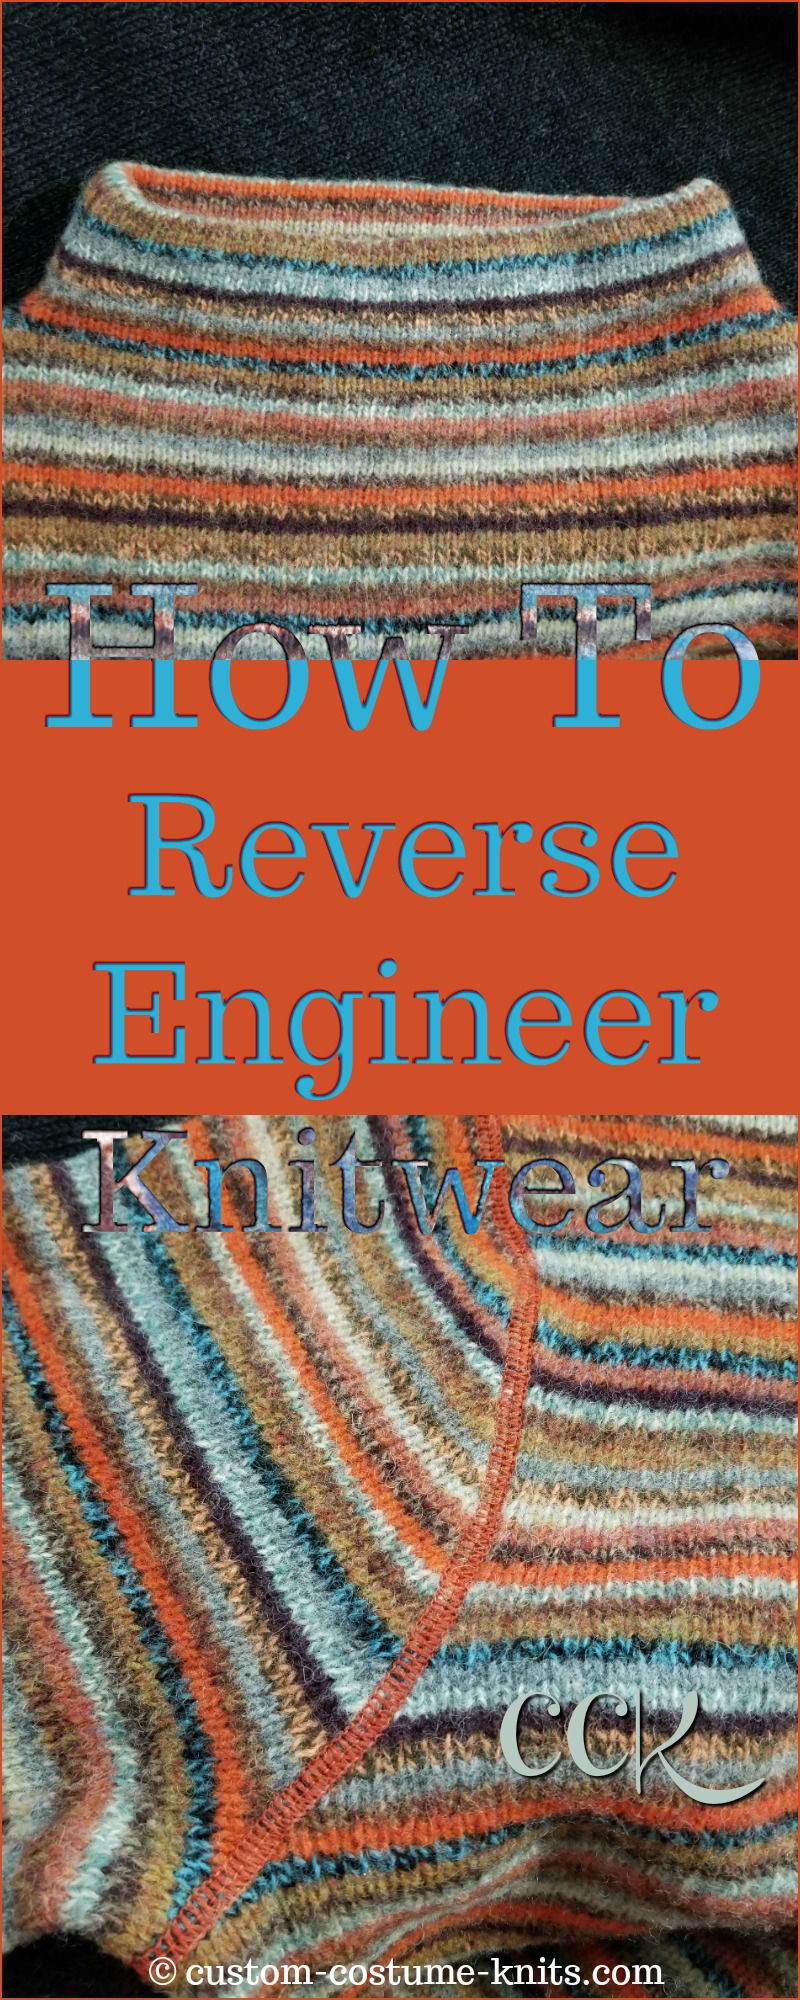
Reverse Engineer Knitwear – In this series of tutorials and articles, we are going to explore how to deconstruct and reverse engineer knitwear – any item of knitwear.
A little detective work will have you listing construction details but also sewing or knitting methods used to assemble the original garment.
Interested in reproducing a sweater? While some assembly details need to be reproduced others do not and should not. I’m often surprised at how sloppy the finish is on high end knitwear merchandise.
I’ve always been of the opinion that I want the inside of my sweaters to be as neat and tidy as the side everyone sees.
In fact, some sweaters are specifically designed to be worn “inside out” so why not also make them pretty on the inside?
Why Reverse Engineer Knitwear?
No need to feel overwhelmed. To start with, pick a simple sweater in a simple stitch.
Let’s look at various types store bought ready-to-wear knits starting with a simple design: a straight body, set-in sleeve pullover with sloped shoulders and a hemmed funnel neck.
I can think of several reasons why I would spend the time to document how a specific sweater was assembled but the main reason is simple: to duplicate the design.
This sweater design may be:
- A favorite vintage sweater that no longer fits,
- The sweater is damaged or was shrunk – dry cleaners can and do shrink and otherwise felt wool knitwear
- The sweater design is a great fit and you want an identical sweater in a different shade or
- The designer sweater is so expensive that you’ve decided “I can make this!”. And you can!
Need another reason? The perfect sweater is featured in the latest fashion magazine and it has just become your next knitting project. 😍
How To Reverse Engineer Knits
Be it your favorite sweater or a picture in a magazine, it’s time to get out a pencil and a large sheet of graph paper.
Identify The Knit Stitch.
Is it a fancy stitch, ribbed or plain stockinette? Enlarge a pic of the magazine ad if needed. Write down every last detail of what you see. For magazine ads, if the store happens to be within a reasonable driving distance, then go find the sweater to take a close look at it.
I used to go through piles of the vintage format W® fashion magazine (with their newspaper sized 22 by 14 inches pages) and stare at their large scale couture ads. Those were perfect for reverse engineering fabulous designer knits.
Determine The Yarn Weight.
At this point you can only guess at the stitch and row gauge but as an experienced knitter, you already know if the sweater is fine gauge, sports weight or a heavier ply. You may decide to knit a heavier or lighter version of the original. Note that fact to help you narrow down a search for yarn.
Measure The Sweater
Turn the sweater inside outside and lay it out on a smooth surface.
For this purpose, I unfold my craft table custom padded to fit this cover but you can also use a blocking mat or a sheet on a large table).
Want a super easy way to create a pattern?
Lay the sweater on a length of gridded Pellon© fabric.
It’s purpose is to produce sewing patterns that can be pinned, adjusted and even tested on the model!
Pellon© Is My Drawing Paper!
Tougher than a paper pattern, use tailor’s chalk to outline the sweater on the fabric (to include all seams) and then work out all the measurement details.
Ever considered knitting “fabric” and cutting out your sweater as you would woven yardage?
A paper pattern includes wearing ease and seams if you want them. Compare it to your actual measurements and adjust if needed.
Linograph Multipurpose Dressmaker Sleeve Neckline Armhole Acrylic Ruler
Think sewing! It is easy to incorporate sewing techniques to accomplish the desired results in knit fabric.
You are knitting the sweater fabric and the pattern has become “dimensional” rather than nothing more than a diagram in a set of instructions.
In this case, you can even draw the hemmed neckband for a complete pattern right down to the neckline facing.
Calculating The Stitch & Row Gauge

Use craft pins like these to mark off a set of stitches to measure. The more stitches you use, the more accurate the measurement will be as long as the sweater is not stretched out.
These marking pins are ideal for pin basting sweater pieces together especially when easing a sleeve cap into an armhole but they are also helpful when quickly isolating a section of heavier weight yarns. The blunt ends prevent any sweater knit fabric snags.
Sweater “clips” are perfect when assembling bulky knits.
These bamboo pins are too heavy and would immediately distort the stitches and rows.
All pins mentioned here are also be found in craft stores.
My Tricks Of The Trade
Here is an even better solution.
Run a thread or lace weight yarn to mark off a set of stitches.
Ideally, you do not want to distort or alter the stitches in any way. The measurement must be accurate if you intend to match the original gauge.
Make sure the sweater is “resting” and not stretched out in any way. I usually place the shoulders and neckline down first, pin them to the board and allow the rest of the sweater to fall into place. Pat down the seams to level them out and perhaps use a yard stick or large quilting ruler to level out the body of the sweater and the sleeves.
Calculate an accurate stitch and row gauge to draft your personal pattern.
All you need are garment measurements if your intention is to duplicate the design rather than both the design and the gauge.
Record actual and accurate body measurements then determine an appropriate amount of wearing and design ease to be added to your measurements.
How To Analyze Simple Details : Our Sweater Reverse Engineering Tutorial
Coming next…